We try to maximize our output in the least amount of space. Space is a definite premium around here.
Potato towers are great because they can be inexpensive to create and you can often use items you have laying around the house. I've seen them made with old tires, wood and wire. We choice wire fencing because we had short sections laying around. The idea of using a round or wire tower works because you have a wide are of growing space inside and lots of open area on the outside for the greens..
Basic Supplies needed are:
- Something to contain your project, wood, fencing, chicken wire, pallets
- Newspaper or cardboard
- Hay/Straw, depending on where you are from as to what you call it
- compost, garden soil, aka dirt
- Your choice of potatoes
- optional: soaker hose, not necessary but easier in the long run
First you have to pick your potatoes. There are early potatoes, summer potatoes and even colored potatoes. Here is a great resource for ideas about Potatoes.
Once you have your potatoes cut them into sections with at least one "eye" on each a day before you plant. This given them a chance to dry a bit and harden off the edges. Then it's time to create your towers. They can be as big or as small as you desire.
 |
| This is our first try last year. We didn't want to go too big but we still got a good harvest. We went a bit bigger this year and made multiple towers. |
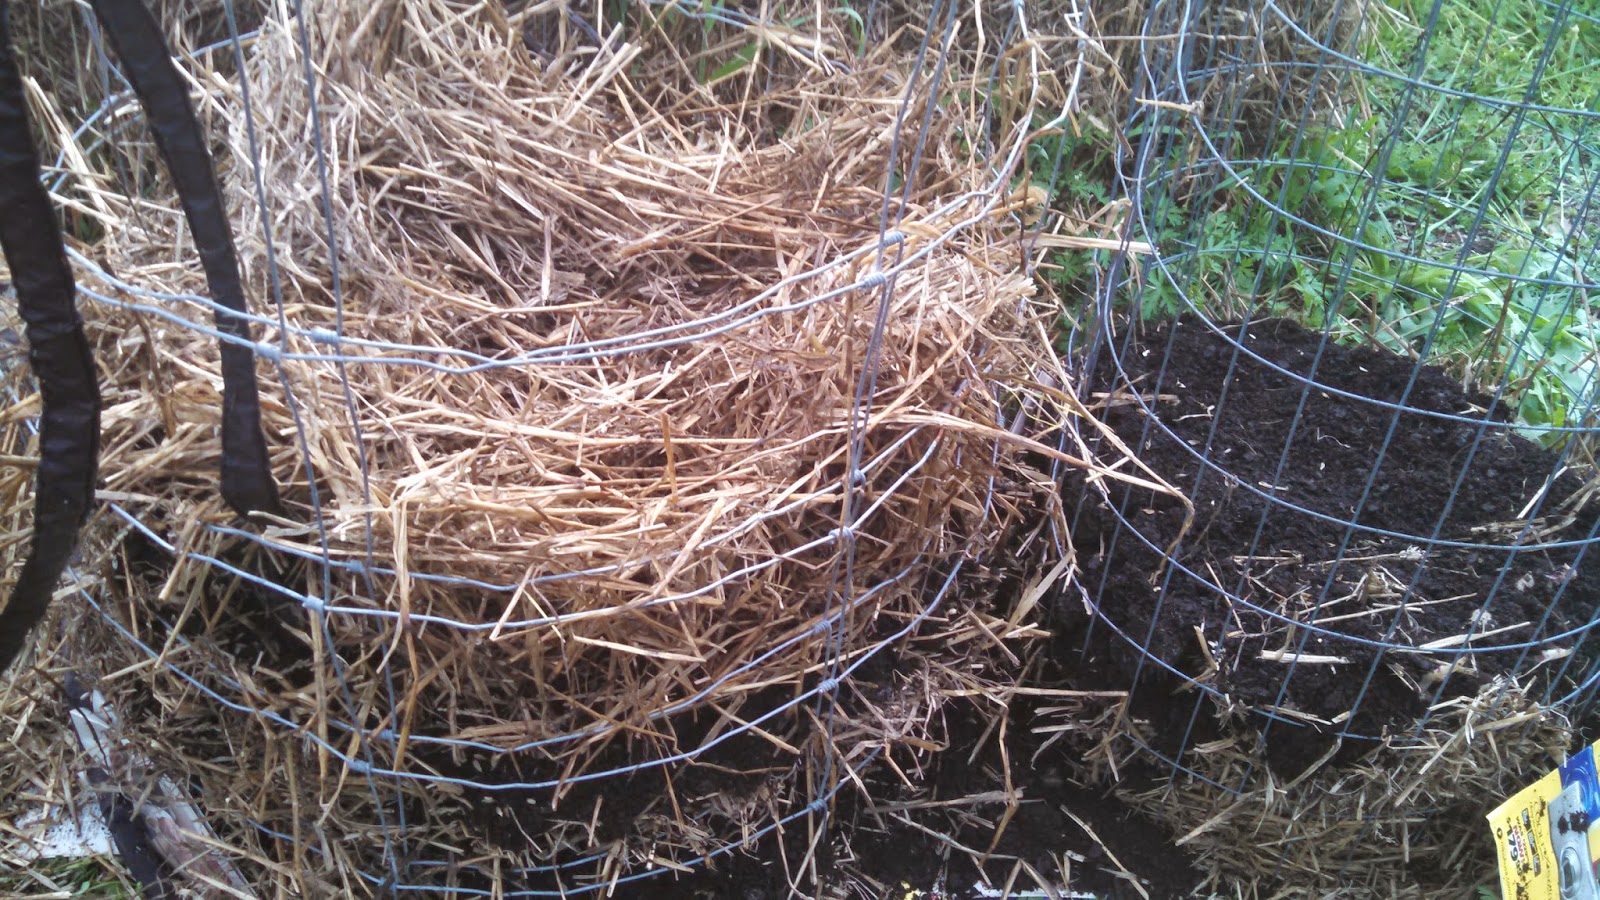 |
| Here you can see the separate layers of compost and straw. And the one thing that we decided to add soaker hoses. |
Potatoes need a lot of water, at least an inch a week. And being upright and with so many open edges the towers heat up quickly and water evaporates quickly, so here is where the soaker hose comes in to play. We wound the hose around every other layer as it was filled and we hope this will help the daily watering we had to do last year. In the picture above you can see the hose waiting for the next round. We'll let you know if this helps or not.
Once the leave wilt and turn brown it's time to harvest. If you have made towers like ours you can lay them on their sides and open them so they lay flat. Then it's easy to pick out your potatoes and your left with a great compost. Which if they are in your garden can be worked in to the soil underneath. If it's on a surface then make sure you scoop it up for your containers and use it for your next planting.
I have seen towers where people only plant the bottom layer and then add dirt and straw as the plant grows. The concept is that as the plant grows it gives it more room to make the tubers. We haven't tried that..yet.
I hope this gives you some ideas about how to use your space to an advantage and gets you out in the garden! While you're making a list for supplies be sure to check out the A to Z Challenge to pick up more great ideas!
No comments:
Post a Comment