Showing posts with label local. Show all posts

Thursday, January 7, 2016

Christmas Trees can keep on giving


We are on the Bah Humbug side of the Holidays and didn't even put up a tree this year. But we had visited our friend Toni at Possumwood Acres, which is a wildlife rehabilitation center that works mainly with birds, squirrels and other small mammals. When we lived closer we were able to volunteer when the rescue was just getting started and now that we have moved away we try to drop in a couple of times a year to help and bring donations. I had visited at Thanksgiving since we were home for the Holiday and one of the requests was for Christmas Trees. They use them in the large Raptor enclosures as well as smaller cages as well as wind breaks for the water foul. 

We sent out a request on facebook closer to Christmas to our friends to let us know when they would be done with their trees, so we could take them back down to Toni. Then about a week before Christmas we were at Tractor Supply and they had a large group of trees on clearance, we asked what happens when the holiday is over. They said they would be disposed of unless we were interested in taking them off of their hands. We left our information and not long after we received a call to come pick up the left over trees. 

 We loaded up the trees, a few very old things from our freezer ( for the buzzards), and two boxes of collards from our garden for the swans and headed over to Hubert. Everyone was very happy to see see us arrive and with a few helping hand we unloaded quickly. 

It was one of the few really cold days we've had lately, so we didn't spend as much time hanging around as we normally would have but I can share a few pictures of the residents with you.
This is just one of the owls that have been brought in injured recently, lots of owls and other large birds come in, are rehabilitated and released back into the wild.

This is a "Tea Cup" Pig that out grew the cuteness and was put out to defend herself. She's happily digging for nuts the squirrel's have hidden in a safe new home.

This is tucker and he's happy to me sharing Thanksgiving and Christmas with us running around instead of on a plate!


If your looking to upcycle your tree too, here's a couple of ideas for you, just in case you don't have a local wildlife rehab center that is in need of trees. 

I'm originally from a coastal county and there was always a call for trees to help shore up the dunes, check with your local park service to see what options are available in your area.

Don't have the ability to haul off your tree, birds would love to enjoy your tree right in your back yard for a bit. Make sure you take off all tinsel and ornaments and set your tree out back. You could even add some bird cakes and other feeders to the tree to bring the local birds to your back yard. Once it dries out it will be easier to break part and dispose of.

Some communities have a recycling program to turn trees into mulch. That's a win win for everyone.

Another option right at home is to turn your tree into a refuge for fish! Do you or a friend have a pond then dump it right into the water. It creates a great place for fish to hide, provides a safe place for young fish or even for fish laying eggs.

There are all kinds of options just google recycling Christmas Trees for your area. I just looked it up for us and came up with lots of interesting options, including the one we did! 

Give your tree a chance to make a difference after the Holidays or even think about a live tree for next year!

Thanks for stopping by!  

Wednesday, December 16, 2015

Almost Wordless Wednesday

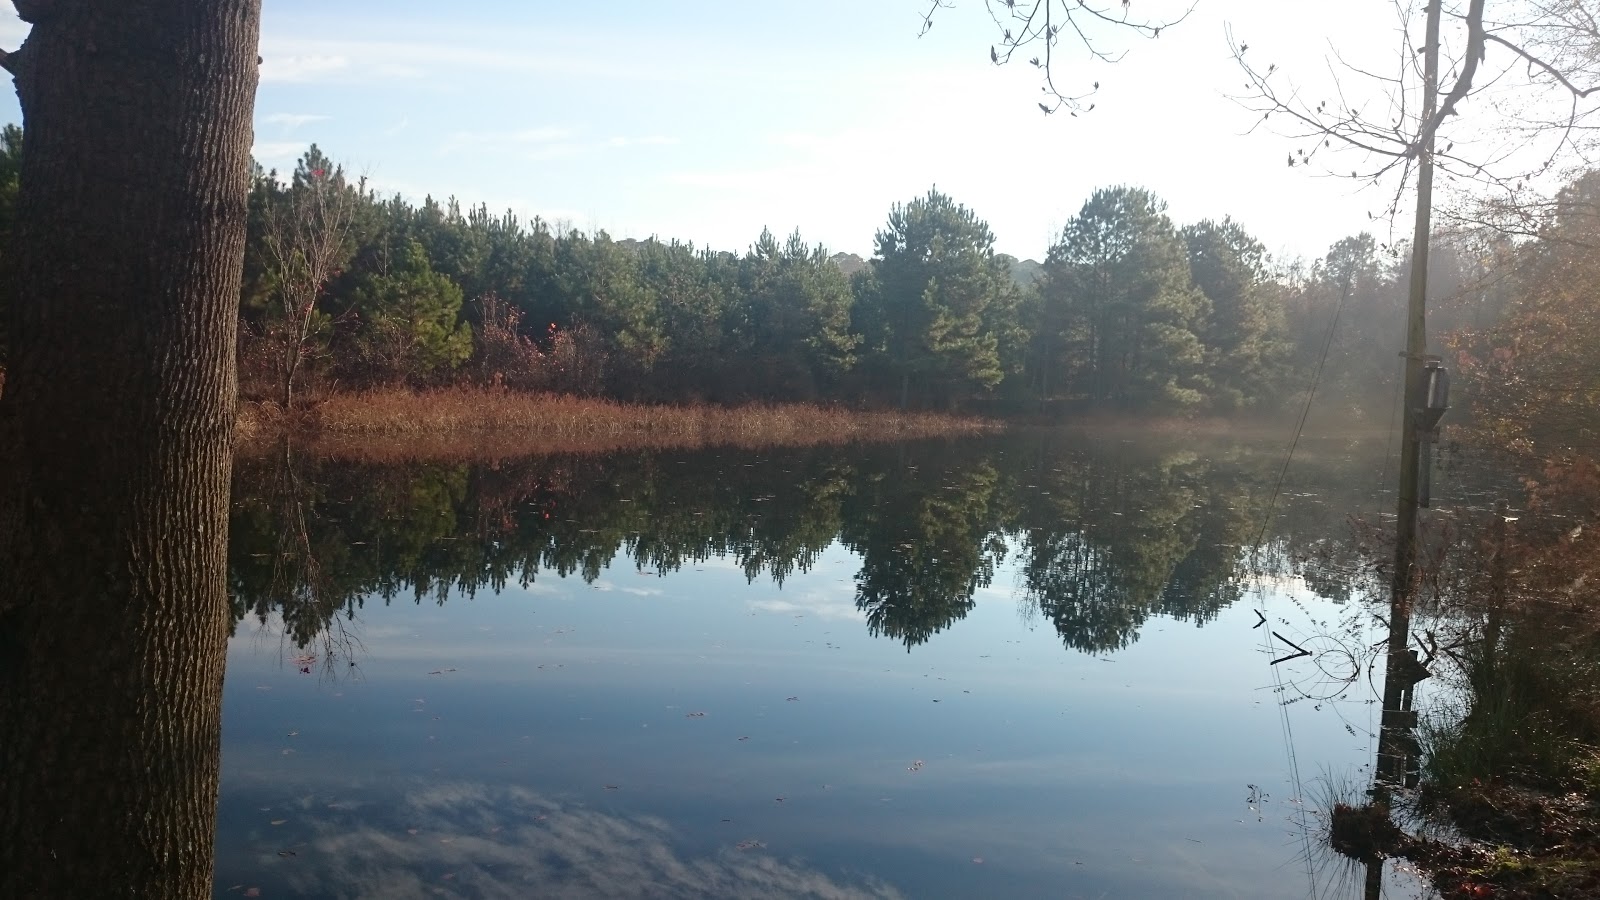
We have been gifted with some unseasonably warm weather this week and I thought I would take a second to share. We took a small break from finishing up holiday orders to take the dogs for a run down by the pond early in the morning. All I can say is "Thanks" to Mother Nature for this awesome Holiday Gift. So far I think that the wooly worm had it right!


That water was cold but it didn't stop her...

A little more cautious but the other one totally steered clear..lol


Here's hoping you get a bit of a break in the weather extreme's no matter where you are!

Sunday, November 1, 2015

Weather and Old Wives

I've been privy to lots of advise from old wives and I can tell you that there are nuggets of wisdom in some of those tales. Yes, I ran around barefoot for years as a child in the mud and the muck and I never got "ground itch", still no shoes and I haven't gotten it yet as an adult either. What is it you ask, I have no idea but it was a general threat/warning to me as a child. And personally I'm glad it never caught up to me.

My Grandmother always said that collards are best after they have been frosted on, hold off a bit and I think you'll agree. Ours are moving right along and should be ready for Thanksgiving, hopefully we'll have a good frost by then and they'll be just right. I'm making myself a note to post our awesome vegan collard green recipe for you guys!

Another common comment was if it Thunders in the winter, expect snow in seven to ten days. Sometimes it works out and other times  it doesn't. Thankfully we don't get much of either around here. Maybe the scarcity of both works for the tale.

I know there are  lots of tales about watching the birds, wasps and the sky to determine if it will be a cold or mild winter . My personal favorite weatherman is the Woolly Worm , (we call them woolly bears in our family) and we just happened to run across a few this weekend while cleaning up the garden. Isn't he cute? And he's got good news for us too!


Not from the south? Never fear I'll explain. The woolly worm tale says that the color bands predict the length and the temperature outlook for the winter. A larger area of brown as compared to the black should forecast a milder winter. A smaller band of brown, you guessed it, a harsh winter. So we should be in for a milder winter in our neck of the woods, as you can see the larger brown section on our friend here. Here's hoping he's right, we had an unusual amount of ice and snow last year.

I wanted to check and make sure I was right about the markings and I found out this little guy is so popular that he, well maybe his relatives, are the theme for a festival in Banner Elk, North Carolina.
As well as forecasting the weather they also have  Caterpillar races, that's different!

Just for you scientific sort, I'll let you know that this little guy spins a  fuzzy cocoon in the spring and comes out as a Isabella Tiger Moth. I guess I'll be on the look out for them come spring and then we can have a discussion on just how accurate he was!

Thursday, August 13, 2015

Garden Tip Thursday- Starting Seeds for Fall Plantings

So you've got your area worked up and have add some nutrients back to the soil. While we are waiting for that to work in, we can go ahead and get some seeds started for that Fall Garden.

It sounds counter to what you would think but your best bet is to start your fall seeds indoors. In most climates it's just been too hot for seeds to germinate properly outdoors. I've fallen into the trap of thinking that the warm weather would act as a green house and get them moving faster but in all actuality it's just too hot for them.

What should you start from seeds?
 Kale, Cabbage, Broccoli, Brussels Sprouts, Collards, Mustard,  Swiss Chard, and  Spinach.
Don't forget to try something new too, like Kohlrabi, Rutabaga and Bok Choi.

Depending on your Zone, You will want to start your seeds about 12 weeks before your first frost. Not that those come with a handy schedule but you can check the Farmer's Almanac for an estimated date. For us here in North Carolina that would be August. Some areas will get a longer season and northern climates you are closing in on times to get your cabbage plants out. Other greens will still fair well if started now in the colder climates. But with the weather we have had this year, we might have a bit longer than we think!

Make sure to use a good starting soil, plenty of water and once the sprouts are up use a good organic liquid fertilizer that has been diluted a bit. If you have a protected patio or porch those are both great places to keep your seedlings until they are ready to go out. A couple of weeks in you should have seedlings with true leaves coming out. Be sure to place them in a protected area where they can get a small amount of breeze to help stiffen up the stalks, if you don't have a place safe from birds, direct sun or in our case Chickens, leave them inside and use an oscillating fan for a bit each day.

About three weeks in the plants should be ready to place out in the garden. Plant in the afternoon or on a cloudy day so the seedlings have a bit of time to adjust.

For your rows, fall planting is a bit different that spring. Since the  soil is already warm you'll want to make your rows a bit taller than normal. While the soil is warm now, we will start seeing shorter days and cooler nights soon. Taller hills have more area to warm during the day and this helps for those cooler nights. Also plant a bit deeper than you normally would, the top layers don't have as much moisture available this time of year. Make sure you water your transplants well, less frequent but deeper watering is better than quick watering every day. Mulch is as important now as it was in spring plantings, it will still help keep the moisture in the soil, weeds down but it will help to also keep the heat in around the roots so they can continue to flourish during those cooler/cold nights.

Enjoy getting your Fall crops started and check back next week we'll be talking about what can be directed sewn into your fall gardens!

Wednesday, July 22, 2015

Putting up Beets

We have had a really hot and dry start to our summer this year. We generally get a warm May and a wet June before it turns to really hot July and August. Not so this year. We totally skipped spring and ran straight headlong into summer. May was warm and June had over 20 days in a row of over 95 degree heat! July is not doing any better on the heat front and we are happy to see rain clouds, any aday but Wednesday that is since it's market day.

Having said that we generally get two plantings of Kale, Swish Chard, Bok Choi, Beets and Kolrhabi.
We did for go most of those but we did try another planting of beets, we really do go through a bunch of them. They were looking pretty rough so I decided to pull a few to see where we were. Tiny, that's they were. I had watered but not enough it seems so I decided to take a chance and see what we had and just can them.


So I should have taken a before picture to add to the between and afters, beet greens are quite pretty but it was hot and we're were all looking a bit limp by the time I was done so it was skipped.

I know that beets are one of those things you either love or hate, not much middle ground for these guys. My personal opinion is that while they are very pretty plants and roots, they smell like dirt when you cook them and that just turns me off. BUT to each their own, on that note in cause you are on the pro beet side, I'll share my grandmothers recipe with you. This one I have worked out a bit of the trial and error for you already. She was one who used a bit of this and a handful of that, seriously that's how they are written out. And they are only written out because the female grandchildren (there are only two of us) made a fuss about it. And while I'm at it let me admit that no matter how many times I watched her do it, to this day I can not duplicate her biscuits, (it's super simple I know, but maybe when I'm 80 I'll get the hang of it). I'm southern and it's seriously a crime what I can do to a biscuit.

On to beets..This is a pickled beet recipe and is done with a water bath canner. If you don't have a canner any large pot will work. You'll need one large enough to cover your jars by about an inch of water. My mother never owned a canner but used a large stock pot with a round metal rack on the bottom. Canners are cheap and easy to find if you plan on doing much canning, Check walmart and Target as well as amazon for supplies. Jar lifters and a funnel are two other items that make canning much easier than when my grandmother did it and they are widely available with other canning supplies.

 Gather your supplies,other than the beets you'll probably  have all of this on hand already.

You'll need approx:
 8lbs of beets. The smaller the better, less than 3 inches across is best. Larger beets tend to be fibrous.
1 1/2 tsp of Canning Salt.
2 Cinnamon Sticks (you can use a tablespoon powdered if you'd like)
12 Whole Cloves- about 1tsp
12 Whole Allspice Nuts - about 1 tsp
4 Cups of  White Vinegar (5% Acidity)
2 Cups of Sugar ( Splenda can be substituted if you'd like
2 Cups of Water
 4  Medium Onions- This is optional and you can use more if you're an onion fan


On to Processing 
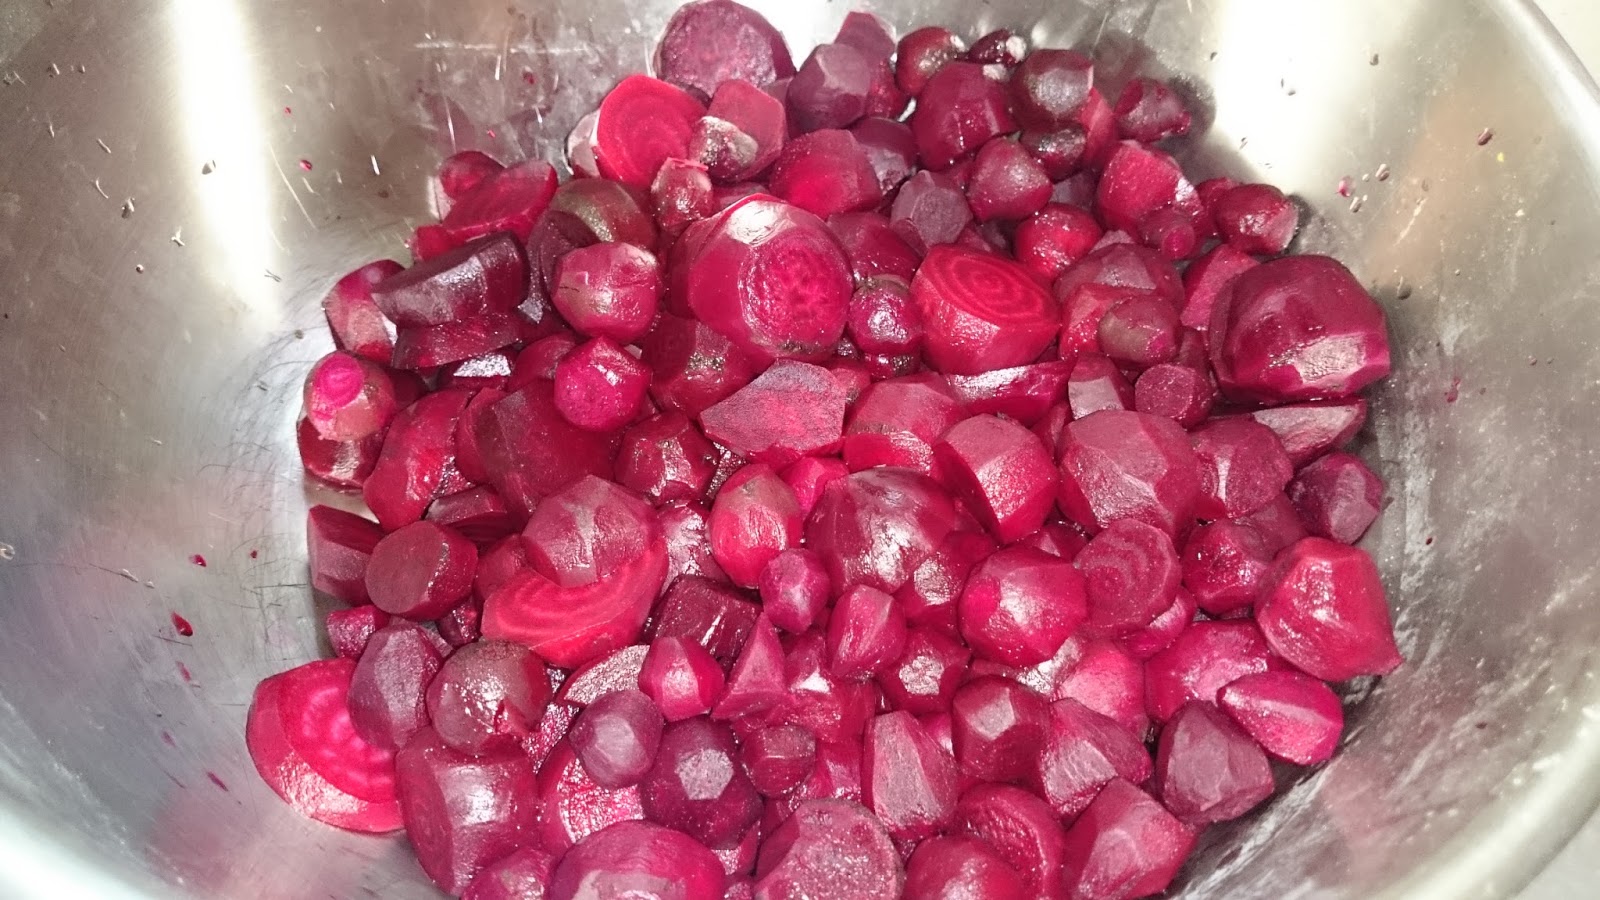
Scrub your beets, they do grow in the ground after all. Trim the greens to an inch or so above the beet, don't cut the top completely off, the beets will "bleed out" when boiled if you do.  Next you'll place your beets in a stock pot with enough water to over them. Boil for 30 minutes or more, they should be fork tender but not soft. Dump the water and place your beets in iced water to stop the cooking process. You'll then want to trim off the tops, peel them or scrap them depending on their size and cut into slices or chunks, your preference. They should look like this:


If you're adding the onions now is the time to get them sliced and ready.

Combine the water, vinegar, salt, spices and sugar in a stock pot and bring it to a boil. Add your Beets and onions if you so chose to the mixture and simmer for 5 minutes. 

This is a great tip that I read about a while back and we use it for lots of things. Find a baby food holder, pictured in the pot below, they are sold at Target and baby supply stores. They will hold a ton of spices, are dishwasher safe and are plastic so it doesn't react to vinegar. You can also use Cheesecloth if you have that handy.

While you are simmering your beets go ahead and heat your jars, we'll be "hot packing" these beets.
Take your jars out and pack the beets only tightly in the jars. Leave a 1/2 inch headspace, generally that's the raised ring on the jar under the screw top. This is used for the expanding liquid during the canning process. After the jars are filled, go ahead and ladle in the hot liquid just enough to cover the beet and leave your headspace. Be sure to wipe your jar rims, this helps to ensure a good seal. Place your lids and screw on your rings finger tight only, don't over tighten.

Place the jars in the canner, and process in boiling water for 30 minutes for pints, if you use Quarts add 5 minutes to your processing time. If you are at higher elevations you will want to add to your time also. I think it is 5 minutes for each 3000 feet you are above sea level. You might want to double check that, we are very low here so I've not had to worry about that.

Once the processing time is up remove your jars and place them in a draft free area, we put them on a table and cover them with a towel. Be Careful they are very hot! We leave them alone for at least 8 hours up to overnight, but we listen for the POP of the lid telling us it has sealed. Give it a week or so to really soak up the flavors and then Enjoy!

 If you have a jar that doesn't seal put it in the fridge and eat over the next few weeks. Canned jars left in a dark place are good for at least a year, but I promise these won't hang around that long.

How pretty are these? I  can't wait to dig in!

Do you have a favorite family recipe you'd like to share. Post your links in the comments Please!
Thanks for stopping by, if you are interested in the crafty side of Our Greene Acre check out my other blog Everything but a Moose. 


Thursday, April 30, 2015

Zones for Gardening

It's already the last day of April and the last day of the A to Z Challenge. I can't believe I managed to post every day and most of the posts were actually on target! I imagine you are as surprised as I am. I truly hope that out of the 26 days you learned one new thing, or added something to your list or managed to plant something awesome. Our Garden season is just getting ready to swing into gear here and we hope that you wander back our way for updated and new ideas as the season progresses. If your interested in crafts be sure to check out my other blog Everything But a Moose. It's fallen a bit behind but I'll be picking back up on both blogs in the week to come!


So for the last day of the Challenge and the Letter Z I'm talking about Zones. Yep plant hardiness zones. Here's a great map up the states to help you understand what I mean by zones, I feel sure there are ones for Canada also and other countries.

The Hardiness Zone is a representation of the average winter lows for a region. Plants are often listed with a hardiness in a certain zone. Want to know if it will do well where you live, find your zone and see. It doesn't mean that you can't have that Banana tree in North Carolina, just make sure that you plant it in a pot, it'll need to come in during the winter.

You often see the same zones on seed packages telling you when to plant seeds. This relates to the first and last frosts for an area.

I promote buying local a lot and I'm going to do it again here. If you are looking for a bush for your yard it's best to check with a local nursery. They know more about what is native to your area, what has become adapted to your area and what just won't work. Large box stores don't mean to sell things that might become invasive in your yard, they just might not know. Don't take chances, spend your money in your area and end up with something you love and that loves your climate too! You might be surprised at what you find.


Image from USDA- Plant Hardiness Zone Map

According to the Zones we were not in an area to have lilacs, yeah they might grow here but they couldn't take the heat, literally! Chris is the one who wanted them, being from Michigan and all, he really missed them. But we kept bugging our friends at the Nursery and they came up two great varieties that can grow here. They are blooming now and I wish I could send you a sample of how great they smell, but I'll have to settle for just sharing a picture.

If you are in our Zone I can tell you that Lil' Kim and Korean Lilacs do great!


Thanks for taking this crazy journey with me and for popping in every now and again. Thanks for the support, the comments and just for stopping by. I appreciate it! Check in again, there are tons of updates to be done and some info on a few DYI projects. We are always coming up with projects..lol
 Have a great May!

Friday, April 24, 2015

Umbrella Market

So I'm using today's letter "U" for something that's coming up soon for us! It's that time of year again, Markets are getting started all over and we'll be attending an Umbrella Market in Uptown Greenville again this year. Sorry I had all kinds of ideas for the letter U but I keep coming back to the Umbrella Market thing. I guess it's just what's taking up so much of my brain space lately..lol

What's an Umbrella Market? It's in the same category as farmer's markets but it's open to more than just farms. The one we attend has all kinds of vendors, from handcrafted items to plant sales and frozen treats. They also have local talent and kid's events. It's like a small festival downtown every Wednesday night for during late spring and summer.

We set up in a parking lot in a revitalized down town area, and this year there could be as many as 70 vendors! We sell a large variety of items, from canned goods to homemade puppy cookies, from crocheted items and veggies from our farm. And of course I can't forget the farm fresh eggs, they are always a huge hit.

This Market is getting ready to start and I've been busy, promoting it on facebook and other mediums. I've ordered bags this year for our favorite customers..and we'll have some to sell too. I wish I had a picture to show of the proof but my graphics department is running a bit slow..( I'm really not complaining since he works with me and does it for free..) They should be here soon so I'll be able to use them for another post. See he really is helping me out!

Our weather has been really great lately warm days and cooler nights so it's getting everyone in the mood to visit the markets. Head out this weekend, I know our local farmers markets are opening this weekend, and we plan on stopping by a couple to visit and browse.

Not sure where to find out about your local market? Check out Local Harvest and Soil Mate, hopefully you'll find more than one in your area. I always enjoy visiting new markets and seeing how they set up and I can always find something that I just can't live with out!

Here's our Puppy Cookie Display at a fundraiser for a local animal organization. 

This isn't the Umbrella Market but it was our First Festival of 2015. I'm getting geared up and ready to go. I hope you guys have a great weekend and have a chance to get out and meet a local farmer!


Between your travels, check back in on Saturday for the letter V and we'll talk abut something dirty!
This post is part of the A to Z Challenge. Check out the listing of participating Bloggers, there is something for everyone!

Tuesday, April 14, 2015

Locavore- What is that really?

For the 11th day of the A to Z Challenge I'm talking about eating Local or what we call being a "Locavore". Many of us are Herbivores or Omnivores but what really defines a Locavore?

The official definition is a person who primarily eats foods only grown with in a certain radius of their location, the area can be larger or smaller depending on the availability of farms. The general area would fall between 100 and 250 miles of a consumer.

I consider anyone who grows even a small portion of their own foods, or seasonally buys from a farmers market to be a localvore. Groups of people are moving this direction for heath benefits, environmental benefits and to support their local economy. Some people do it just because they enjoy knowing their local farmer and seeing how their food is grown.

The health benefits of growing your own food is vast, you regulate the amount of fertilizers, pesticides and processing that goes into your food. Don't want all that extra salt, BPA or concerns about what else might be going into your foods, buy local and process it yourself. It doesn't have to be large scale or take tons of time to can, freeze or dehydrate and you'll reap the benefits when those products are out of season.

The environmental benefit for eating locally is that foods are often fresher than what you would find on your supermarket shelf. They won't have been coated with chemicals to extend the shelf life. Also the environmental impact of traveling shorter distances to reach the consumer is less, which helps reduce green house gases and conserves fuel. Demand for fuel goes down and prices for everything falls.

When you buy local, that money stays in your community, There are more jobs created with this money, more options for buying are created and the whole cycle continues.

We were once a country that was fed communities. We created Victory Gardens during the war to help ourselves and our neighbors, I'm from the South and yes we have the agricultural history, but the draw to grow your own food has dropped. I'm always surprised at how many people are so unconnected with their food that they can't recognize certain vegetables on sight or  know how they grow. Recently I took a trip with my girl scouts and a few other troop to a local dairy farm and one of the comments of a parent threw me for a loop. They wanted to know why the cow looked like it was dragging it's stomach. We all immediately became concerned, only to have the cow pointed out. We then realized she was talking about the utters, she had no idea that is where milk comes from.  I worry with so much industrial farming that we have moved too far away from how our food is created, that we lose sight of why gardening and farming are so important to us as a society. We can't ensure food safety if we are not involved in it's production!

How can you be a localvore if you don't have the options to grow your own food? Herbs can be grown in window sills, try container gardening or check out Local Harvest and find a Farmers Market, CSA or farm in your area. Become a bigger part of your food chain and learn about production, preserving and food safety. It's in our own best interests!

Check back tomorrow and I'll be talking about a little lighter subject.. M is for Microgreens!
Thanks for stopping by...


Saturday, April 4, 2015

Dairy Farm Trip

I started out helping with a local Daisy Scout troop this past December and as it would happen it was just in time for Girl Scout Cookie Season. We have a pretty small troop in a rural community and  I was pleasantly surprised at the amount of cookies (the parents) were able to sell. We actually did pretty good at a couple of very cold cookie booths also. So I wanted to celebrate that by giving the girls a fun and educational experience. Finding something that kindergartners and parents can both enjoy, that was local and doesn't cost the moon wasn't as hard as I thought. And we get to support a local farmer at the same time!

And how lucky for me that it happened to fall on my "D" Day for the A to Z Challenge. The stars have really aligned for me on this one!

We have a local dairy, Simply Natural Creamery, that has just opened this year. They have a great set up for kids and adults alike. Baby cows to pet, great made on site ice cream and fun education. Being a "dirt" person it is important for me to make sure that my Daises and other kids know where their food comes from, so they will be able to grow up and make important decisions about their health and environment.  

I called and set up a tour for today and we had an awesome time. I would love to share more pictures but being other people's kids I'll hold off on that.

Our tour started with a hay wagon ride to the lounging barn, where we saw cows chewing their cud and socializing. Then we had a chance to simulate a milking which I can say these girls were real troopers wanting to learn, one was concerned it would hurt the mom, but they explained that baby cows are much harder on their mom's than a milking machine.

We toured the milking platforms and followed the milk to where it was bottled. I'm not a milk drinker but I have learned so much about the process they use. Continuous flow system (HTST- High Temperature Short Time) is how they pasteurize their milk, which means that they heat it very quickly then cool it back down rapidly. They say it will kill off any harmful microbes but not affect the flavor. According to others I have been told that their chocolate milk is the best. I have to say the girls had a huge amount of questions and were given easy to understand answers. I think we might even have a future dairy farmer on our hands after this trip!

The hour went quickly and I think that the favorite part, other than the ice cream, was the baby cow feeding. Even the parents got in on this..lol. Who could resist this face!
Here's Looking at You!


We had a great day and I hope that everyone is having a great weekend! Check back on Monday for the "E" installment.. Chicken pictures to come. Take a bit of time to check out all of the awesome blogs on the A to Z challenge. Out of over a 1000 blogs I'm sure you'll find a few to follow! And if you are so inclined look around for a local farm to visit this summer, you never know who'll you meet!