We have some really awesome friends who are always sharing seeds and ideas with us, and a couple of years ago they gifted us with a few Jerusalem Artichoke tubers. I wrote a bit more about them back in April in the A to Z challenge, you can check that out here. They are also called Sunchokes and are related to Sunflowers, they grow a very tall stem that tops off with a daisy or sunflower type flower in clusters. They grow mainly on the eastern seaboard and can be invasive so beware when you plant them.
To get the best flavor they say wait to harvest until the first frost. Well we had a bit of a small frost and we were working in the area where we had planted these tubers, so we thought it might be good ideas to dig around and see what we could find..

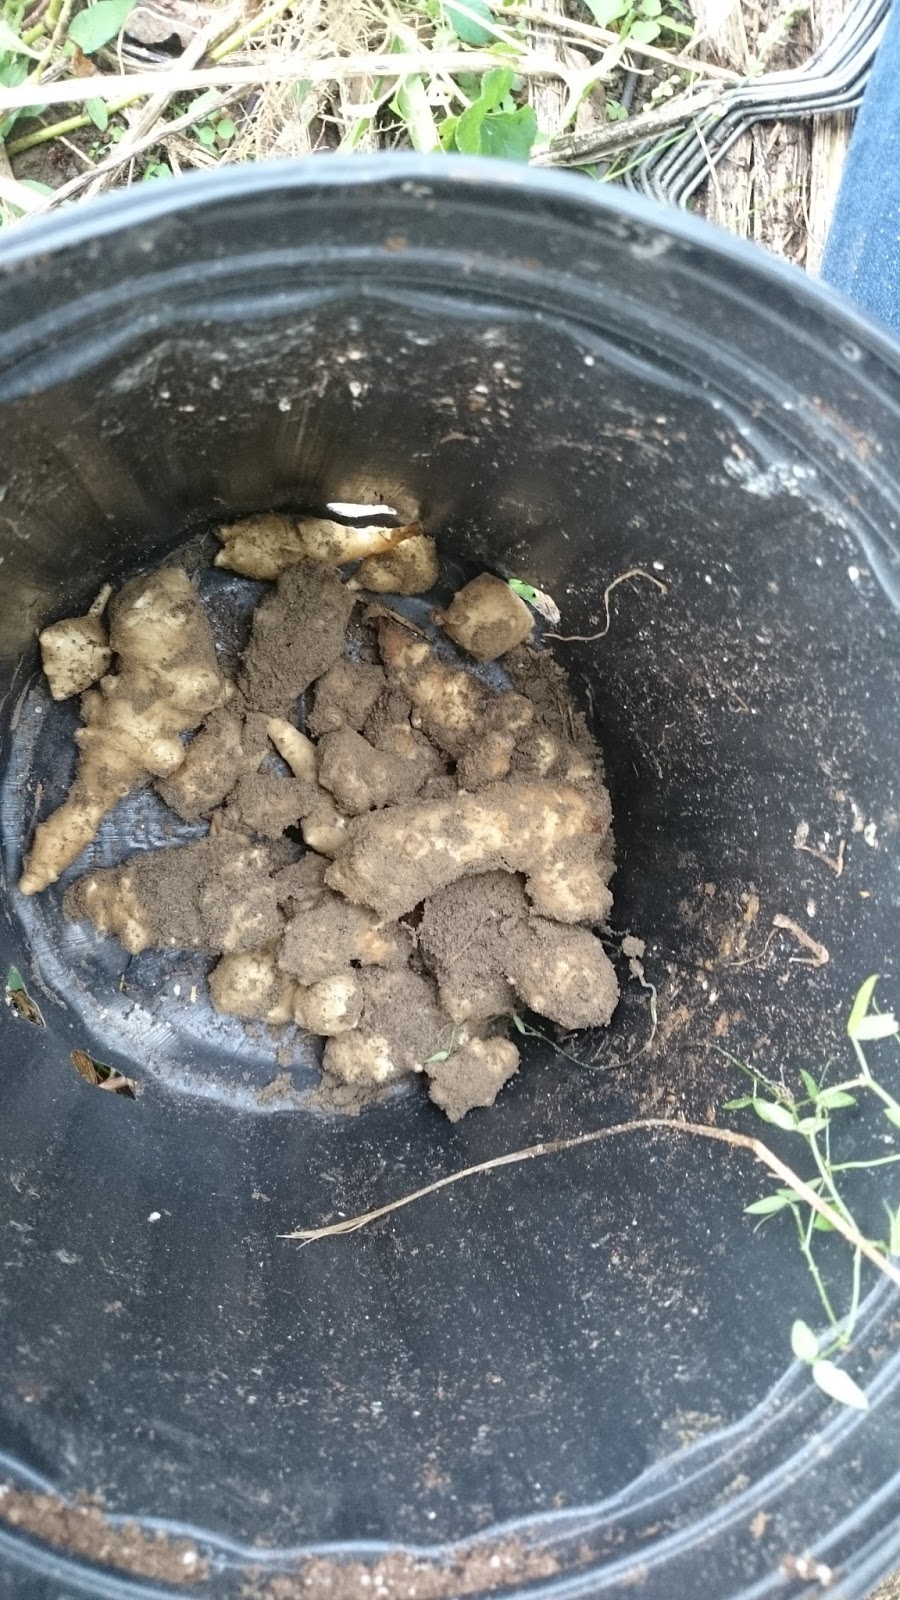
The first bit of the harvest was a bit less than expected

So we really dug in and the harvest got a bit better
After this I had to help dig so I don't have a picture of the whole harvest but we did end up with more than we expected. We had plenty for mashing and salads and then just enough small for a batch of Pickled. I'm going to walk you through my grandmothers recipe for the pickled version , it takes two days but it is totally worth it. They can also be boiled, roasted or eaten raw.
As you can see from above the hardest part about all of this other than the digging is the cleaning. One wash just isn't going to do it. I swish and washed but those nubbies just hang on to the dirt.

Some people say that you can just peel them but these are on the small side so I decided to brush them so they could retain their bumpy personality. Of course I didn't have a vegetable brush so I had to make due with an old tooth brush. I knew I keep them on hand for a reason

Much better, don't you think? They're finally ready to go into the brine, which is the easy part.

Never fear, I'll give you the recipe at the end of the post just in case you can get your hands on some,

This is what you end up with early the next morning.

Turmeric is a big part of the recipe and I was glad we decided to plant a bit this year.I'm saving a bit a to plant again this spring. I love have fresh ingredients for our cooking and canning. We'll be adding more herbs to our garden this spring, too. I had posted a picture of the Jerusalem Artichokes to our facebook page asking people to identify it. everyone was convinced that it was ginger, then to really throw them off I posted the Turmeric and no one got that, either. But they loved the finished product.

Here's what we ended up with, we went with some 12 oz that we had laying around and I think it makes a great presentation. I used all of the products shown below for a Relish tray this weekend, Artichokes, Pickled beets, Pickled Brussels Sprouts and Giardiniera, which to me are all rustic country flavors. Most people had never seen any of it before. It was met with a quiet skepticism but soon welcomed by all. I'm glad I can introduce a new generation to old food ideas.

Finally here's the recipe,
3 to 4 pounds of Cut Artichokes will make 12 pints
You need to start with the Brine:
1 gallon of water
3 to 4 pounds of cut artichokes (cut them into 1/2 inch bite size pieces)
1 cup of pickling salt
Onions (6 to 8 sliced thin) *Optional
1 Tablespoon of turmeric or one small fresh root, sliced
Place Brine in a glass jar and add artichokes, They should stay in the brine for at least 8 hours,over night if possible.
After the brining time has passed it is time to start the pickling liquid:
3 Tablespoons Mustard seed
2 cups of sugar (or more depending on how sweet you want them)
1 tablespoon whole black peppercorns
2 tablespoons celery seed
2 quarts of White vinegar
1 Tablespoon of turmeric or one small fresh root, sliced
Mix all ingredients in a large stockpot and bring to a boil. While the solution is heating up drain your artichokes and rinse well.
If you are planning to can these then you will go ahead and sterilize your jars, pack each jar with artichokes and pour hot liquid into jars leaving a 1/2 inch headspace. Hot water bath for 10 minutes.
Place hot jars in a draft free area, covered until cool. Then place in an out of the way spot for at least a week to allow for the best flavor.
If you are not canning these then remove from the heat and allow the liquid to come down to room temperature. Still Sterilize your jars but pack when cooler. Can be kept in the refrigerator for a couple of weeks,
Any questions or if I have left out anything please let me know. I appreciate the opportunity to share some of our family recipes that help keep the old flavors from fading away. Now is a great time to find these in your local farmers markets and specialty stores, so grab a couple pounds and enjoy!
Thanks for stopping by!
No comments:
Post a Comment